Should You Paint Garage Walls Before or After Epoxy Flooring?
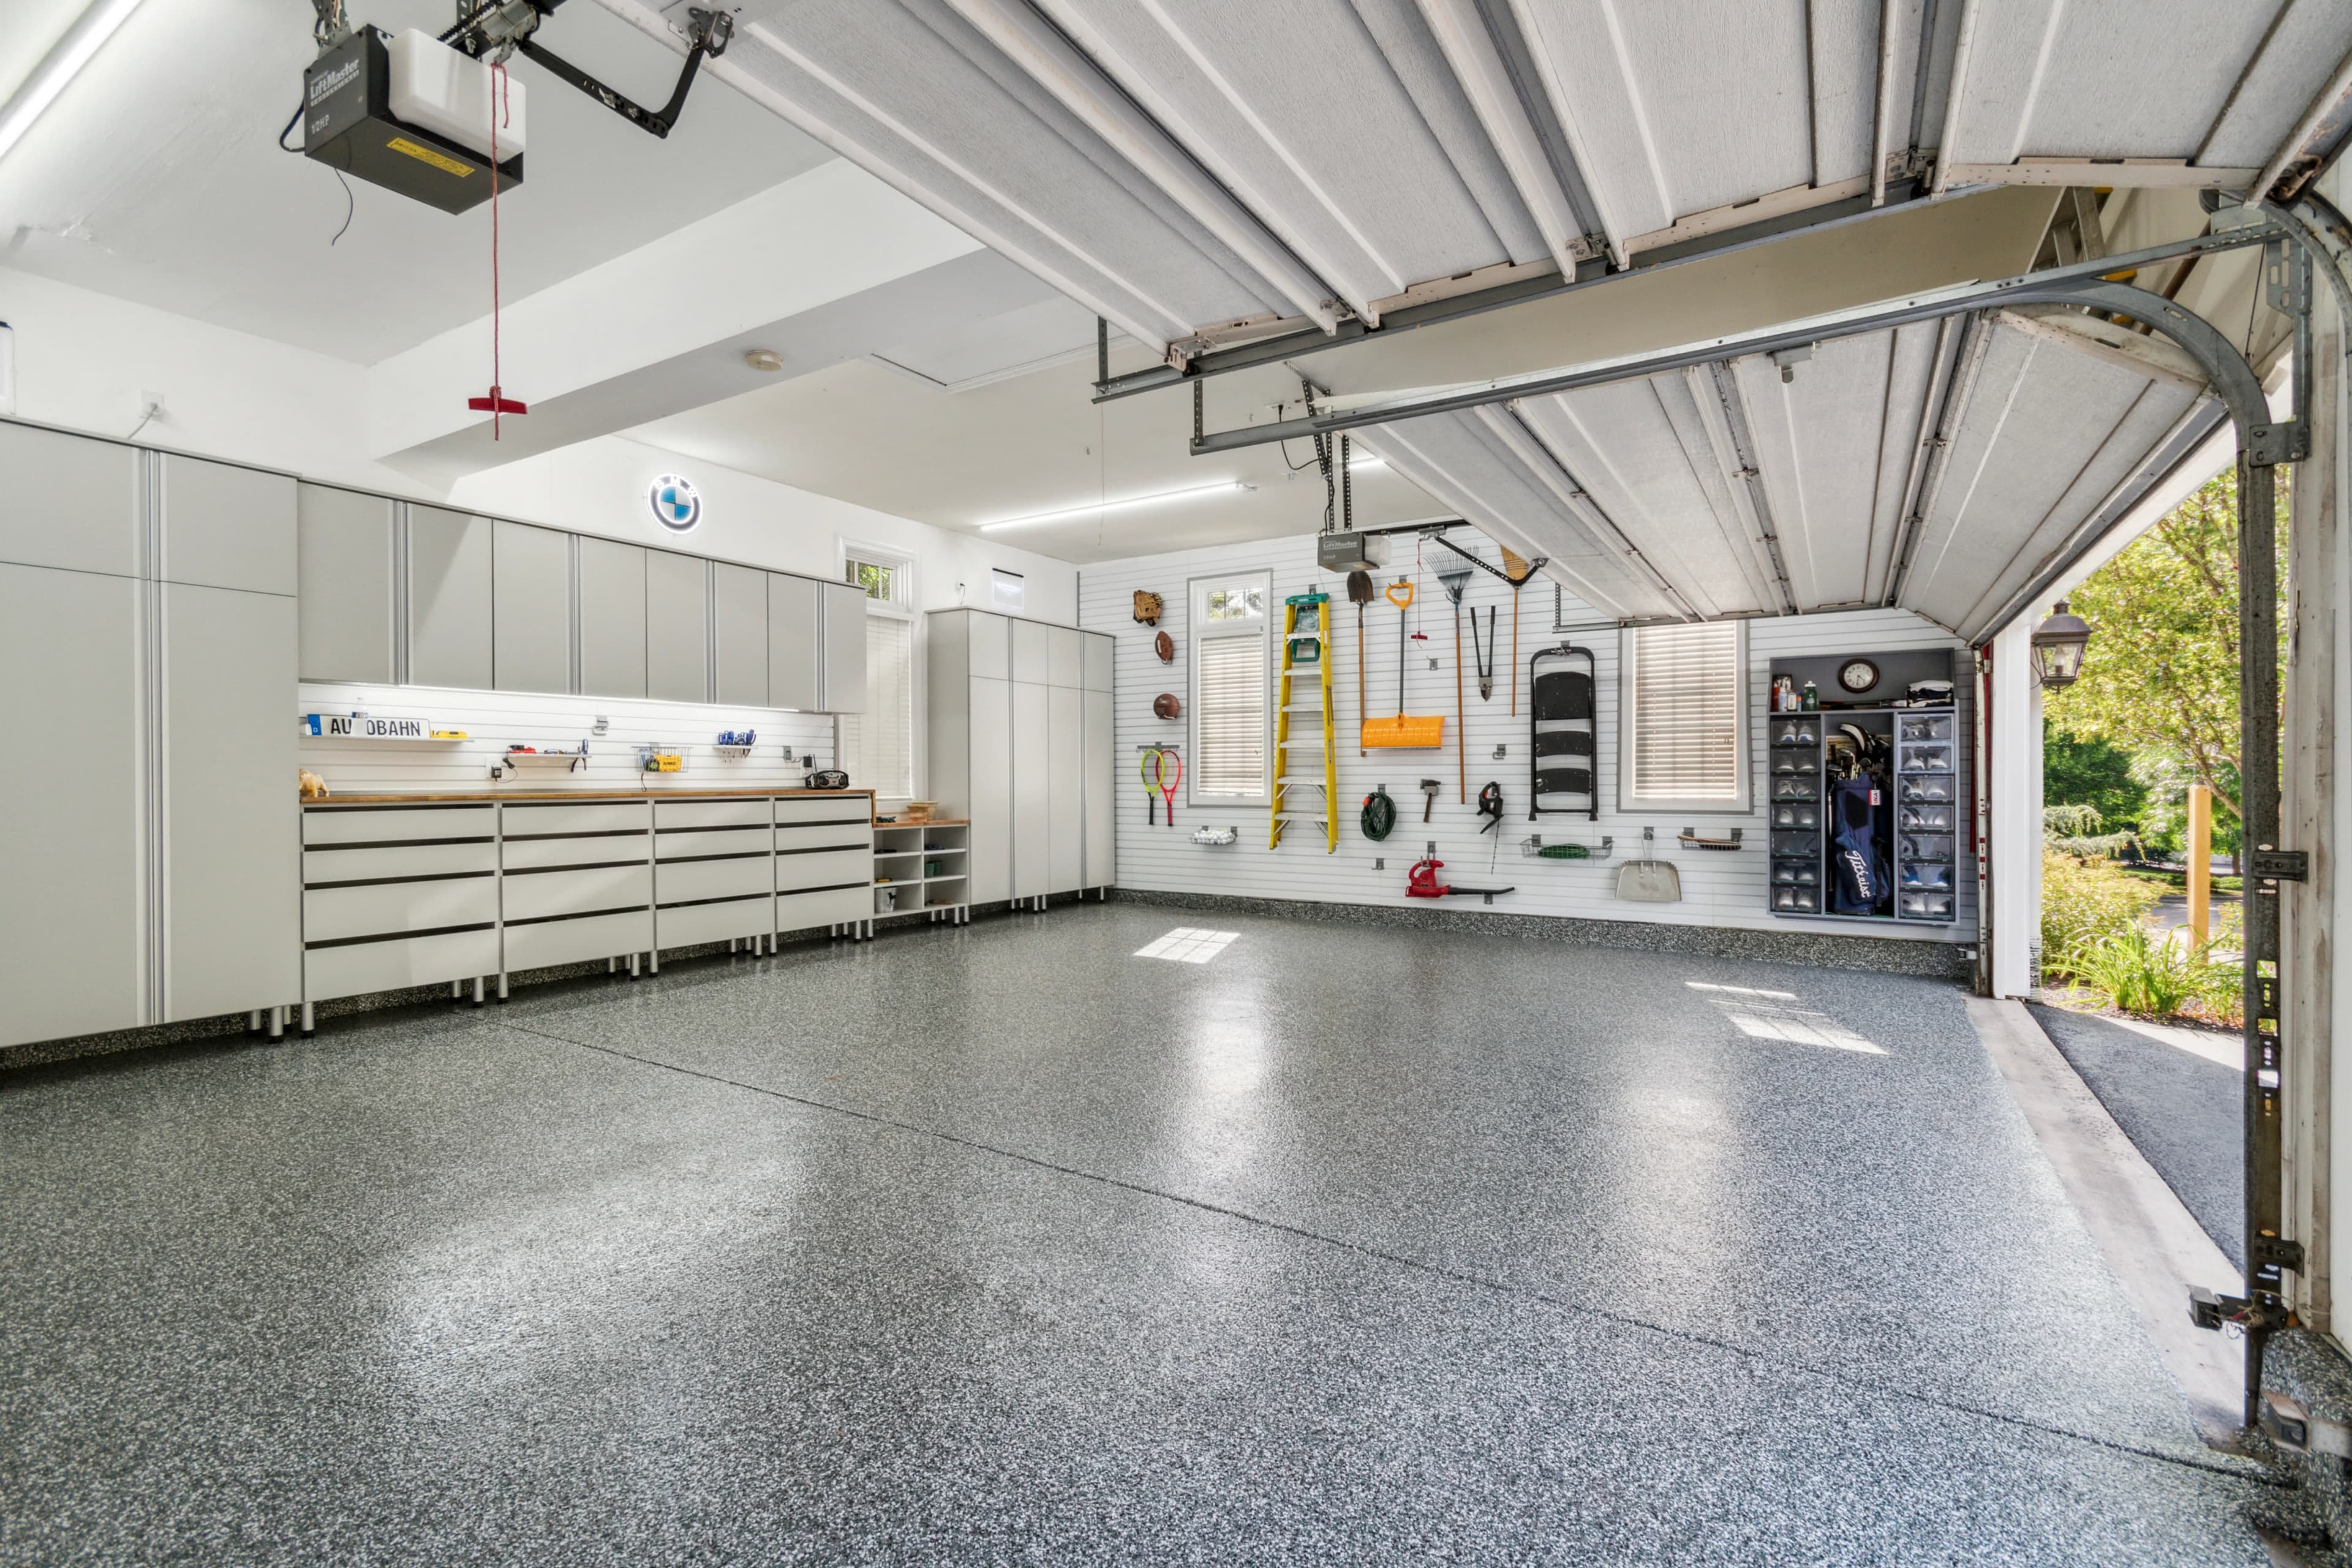
If you’re updating both surfaces, the best sequence in most full garage remodels is to paint garage walls before epoxy flooring. Finish the wall prep and main coats first, prepare and coat the concrete floor next, then return for small paint touch-ups after the floor has cured.
Main Line Custom Garage uses that same general sequence in our documented garage transformation process: the garage is emptied, the walls are painted in advance, the concrete is prepared, and the epoxy flooring follows. This keeps the messier parts of wall painting away from the finished floor and gives each stage room to proceed cleanly.
We handle both garage painting and epoxy flooring, so it makes sense to plan them as connected parts of the same renovation. The exact schedule can change depending on the condition of your walls and concrete, but deciding the order before work starts usually produces a cleaner finish.
Why Paint Garage Walls Before Epoxy Flooring?
Wall painting creates the kind of mess you would rather have on unfinished concrete than on a newly coated floor. Patching and sanding can produce dust. Rollers can leave small specks. Cutting in near the bottom of the wall puts wet paint close to the slab. Ladders and other equipment also move around the garage throughout the job.
Doing the main painting first removes most of that risk. If a little paint reaches bare concrete, the floor-preparation stage will address the slab before the coating system goes down.
If the floor is already finished, the painting crew has to spend more time protecting it and working around a surface that should not be scratched, stained, or covered too soon.
The same logic matters even more if the ceiling needs paint. Our garage painting services include walls, ceilings, trim, and other interior surfaces. Completing overhead work before the finished floor goes in reduces the masking and floor protection needed later.
Floor Preparation Is Part of the Decision
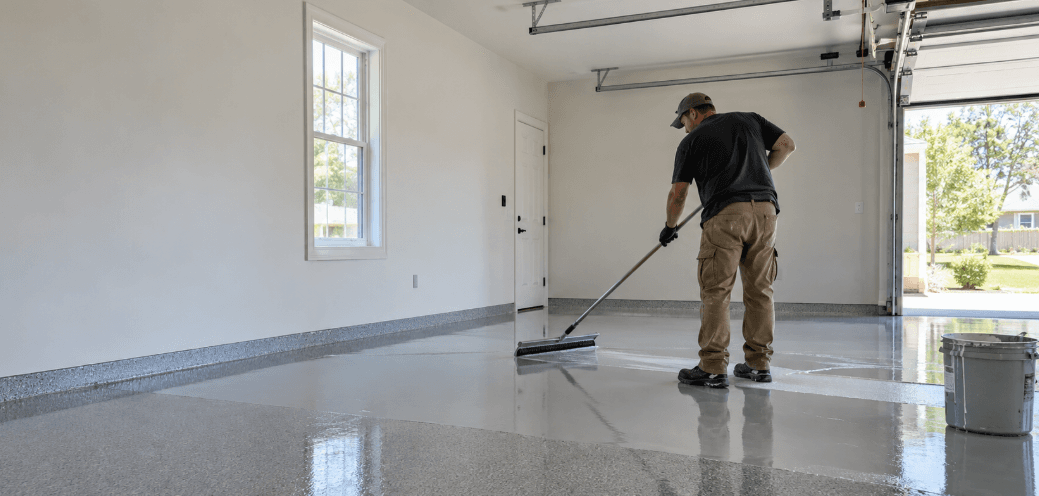
Epoxy flooring depends heavily on the condition and preparation of the concrete underneath it. In our project process, the concrete is mechanically prepared before the coating is applied. That stage needs clear access to the slab and its perimeter.
Sherwin-Williams’ epoxy flooring guide also identifies inadequate surface preparation as a major cause of epoxy coating failure and lists decontamination and mechanical profiling among the basic preparation steps. That is one reason the flooring phase should have its own clean window in the schedule rather than competing with active wall painting.
Leave enough drying time between the final wall coat and the start of floor work. Fresh wall paint can be vulnerable to tape, contact, or cleaning around the perimeter. Drying and cure times vary by product and garage conditions, so follow the paint manufacturer’s instructions.
What If You Paint After the Epoxy Floor?
Painting after epoxy is possible, and sometimes the project circumstances make that order unavoidable. Maybe the floor is already coated. Maybe the walls were not part of the original renovation. In those cases, the floor simply needs careful protection before wall work starts.
A newly coated floor is different. Do not assume it is ready for drop cloths, ladders, tape, or regular foot traffic as soon as it feels dry. Follow the flooring system’s cure guidance and the installer’s instructions before placing anything on the surface.
There is also a useful middle ground for a full remodel: complete the primary wall painting before epoxy, then make small touch-ups afterward. Floor preparation or work along the perimeter can occasionally leave a lower wall edge needing correction. Saving minor touch-ups for the end is much easier than saving the entire paint job for after the floor.

A Practical Order for a Full Garage Makeover
For a garage receiving several upgrades, a sensible sequence looks like this:
- Clear the garage and finalize the layout for flooring, storage, lighting, and other planned upgrades.
- Complete wall or ceiling work that creates holes, patches, sanding dust, or other debris.
- Prep, prime, and paint the ceiling, walls, and trim.
- Allow the paint to dry according to the product instructions.
- Prepare the concrete for the epoxy flooring system.
- Apply the floor coating, decorative finish, and topcoat required by the selected system.
- Allow the floor to cure before bringing equipment or fixtures back into the space.
- Finish small paint touch-ups and continue with cabinetry, slat wall storage, lighting, or other planned installations.
That sequence is close to the transformation shown in our own garage renovation process, where wall painting comes before concrete preparation and epoxy, while slat wall organization and lighting are completed later.
Choose Wall and Floor Finishes Together
The installation order matters, but the design choices should happen together. Our epoxy flooring options include different colors, textures, and finishes, while our painting service includes custom color choices for the garage interior.
Compare those finishes before either surface is completed. A floor sample can read differently depending on the wall color and the lighting in the room. View samples in the actual garage whenever possible, especially if the space has limited natural light.
Lighting belongs in that conversation too. Our garage lighting service includes LED fixtures and customized placement for even illumination. Stronger, more even lighting can change how wall colors and flooring finishes look, so decide on the overall visual direction before the remodel moves into finish work.
What About Trim and the Bottom Edge of the Wall?
The transition where the wall meets the floor deserves attention because that is where two finished surfaces come together. Before painting, make sure everyone working on the project knows which concrete surfaces will receive the floor coating and where that coating will stop.
If the garage has painted trim or another finished edge near the slab, complete as much of that work as practical before the floor installation and expect a small final touch-up if needed. The flooring crew should have clear access to the concrete that needs preparation and coating.
Trying to solve the transition after both surfaces are finished can create unnecessary masking and detail work. Planning the edge early usually makes the final result cleaner.
If Your Garage Floor Is Already Finished
If you already have an epoxy floor and now want to refresh the walls, there is no reason to skip the painting project because the ideal order has passed. Protect the existing floor carefully and keep ladders, tools, paint cans, and abrasive debris from contacting the coating directly.
Use coverings appropriate for the floor finish, and avoid applying tape to the coating unless you know it is safe for that surface. If the floor was installed recently, confirm that it has fully cured before covering it or beginning work above it.
Plan the Sequence Before the First Coat Goes On
For most garage renovations, the simple answer is to paint the garage walls first, install the epoxy flooring second, and reserve minor paint touch-ups for the end. That sequence keeps ladders, wall-prep dust, and wet paint away from the finished floor while giving the flooring work a clear stage of its own.
Main Line Custom Garage handles garage painting, epoxy flooring, cabinetry, slat wall storage, lighting, and electrical upgrades as part of complete garage renovations. If you are planning several improvements at once, contact our team before work begins so the finishes and installation sequence can be planned together. A good order of operations protects completed work and avoids unnecessary corrections at the end.
Recent Blogs
september 23, 2026
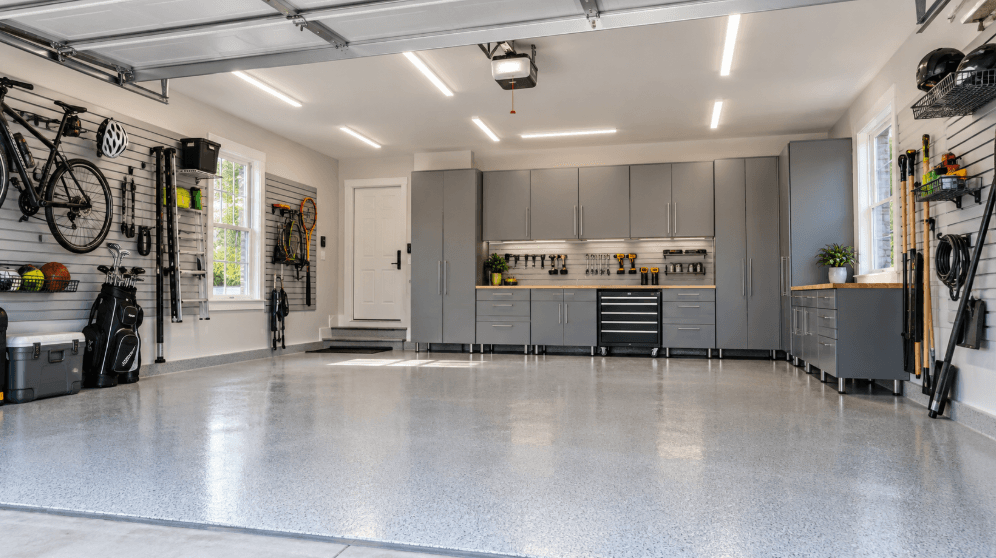
What Does a Full Garage Makeover Include? A Guide for Main Line Homeowners
august 25, 2026
Can You Epoxy a Cracked Garage Floor, or Does the Concrete Need Repair First?
august 19, 2026
How to Make a One-Car Garage Feel Bigger Without Adding Square Footage
december 29, 2025
Top Garage Design Trends for Modern Homes
december 29, 2025
5 Ways Epoxy Garage Flooring Can Protect and Beautify Your Garage
Subscribe to Our Newsletter
Stay up to date with our latest news, blog posts, and exclusive updates delivered right to your inbox.